
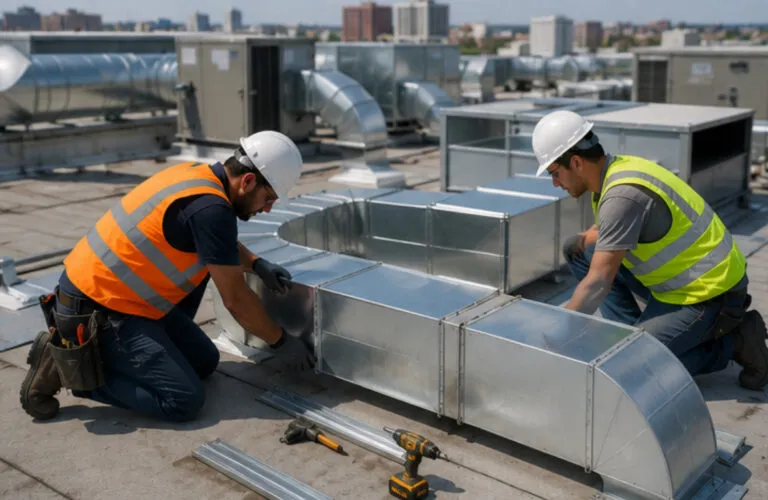
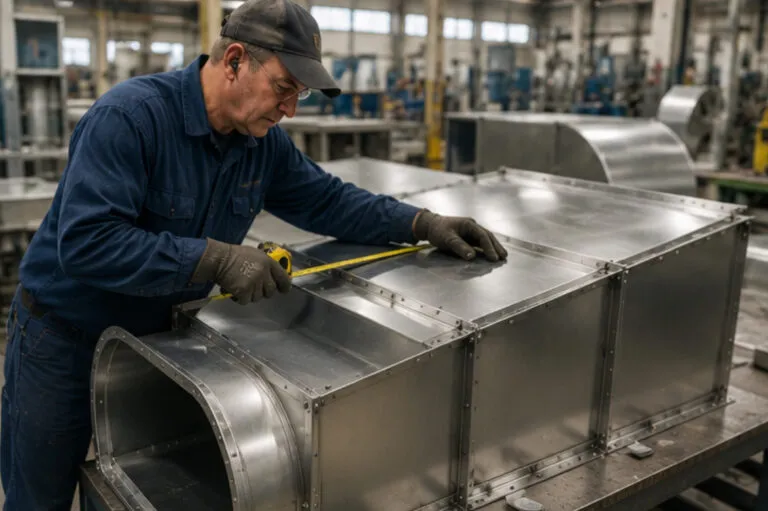
Measuring covers
- The size of each opening
- Whether you measured inside or outside
- The length from joint to joint
- How far one end shifts, and which way
- Photos with the measuring tape laid out
British Columbia

TWO FITTINGS WITH THE SAME SIZES CAN BE BUILT VERY DIFFERENTLY
The sizes tell us how big to make the fitting. The rest of the order tells us how to build it.
A duct fitting order needs five answers beyond the sizes. Name the fitting and the shape of any bend, say how each end joins on, and give the pressure class. Then add the seal class and anything that goes inside, like lining, vanes, or a damper. Most of these answers already sit on your drawings or in the mechanical spec. This guide shows where to find each one, and what to write when nobody has decided yet.
Run down these six questions with the drawings open. Every answer you fill in now is one less email back and forth before the metal gets cut.
| Question | Where the answer usually is | If nobody has decided |
|---|---|---|
| What kind of fitting is it? | The duct plan, or your sketch | Say what it connects, and we'll name the fitting type |
| Curved bend or square bend? | The elbow drawn on the plan | Tell us the room you have, and we'll suggest a bend |
| How does each end join on? | The runs already hung, or the drawing notes | Send a close-up photo of the joint it meets |
| What pressure class? | The notes on the duct plan, or the mechanical spec | Ask the engineer rather than guess a gauge |
| What seal class? | The duct sealing clause in the project documents | Check with the engineer before ordering |
| Anything inside it? | The plans, or the run beside it | List lining, vanes, dampers, and access doors, or write "none" |
Measuring gives the fitting its sizes, and specifying tells us how to build it. Most orders need both, done in that order.
If the sizes aren't taken yet, start with how to measure ductwork for a custom fitting. And when a part off the shelf already fits the run, a stock fitting can be the quicker buy.
The bend changes how a fitting looks and how much room it needs more than any other choice. Many projects name the elbow in their duct requirements, so check before you choose one.
A smooth curve. Many projects ask for a radius of 1.5 times the width, measured to the middle of the fitting. It turns the air gently but needs the most room, so it's used wherever the space allows it.
A sharp corner with a row of small curved blades inside that steer the air around it. It's the usual pick where a ceiling or shaft is too tight for a wide curve. Say if the drawings name a vane type.
A smaller curve with thin dividers running through it. It's used where a full curve won't fit but the job still wants a curved turn. Some projects allow a radius as low as one duct width.
Radius elbow
A smooth curve, radius 1.5 times the width, measured to the middle
Square elbow with turning vanes
A sharp corner, with curved blades inside that steer the air
Tight curve with splitter vanes
A smaller curve with thin dividers, radius at least one duct width
Write the angle on every elbow too. A 90-degree turn and a 45-degree turn both get called an elbow on a sketch.
Every end of a fitting has to lock onto whatever sits beside it. An end made for a different joint won't connect without cutting and patching on site.
| Joint | How it works | Commonly used on | What to tell us |
|---|---|---|---|
| Slip and drive | S-shaped strips slide onto the two long sides, and flat strips are hammered down the two short sides to lock the sections together | Most low-pressure rectangular duct, and smaller duct where there's little room around it | "Slip and drive", and the size of the duct it meets |
| Flanged | A flange formed on the duct end is bolted at each corner, with a gasket between the two sections and clips along the sides | Higher-pressure duct, and large duct too big for slip and drive | "Flanged", plus a photo of the existing flange so the new one matches |
| Round slip fit | One end is crimped slightly smaller so it slides inside the next piece | Round and spiral duct runs | Which end is crimped, or "both plain" |
| Joint type unknown | Any of the above, or an older joint that's hard to name from the floor | Existing duct you're connecting to | A close-up photo of the joint, with the measuring tape across it |
Slip and drive
Seen from the end of the duct. S strips on the long sides, drive strips hammered down the short sides
No bolts. The strips lock the two sections together.
Flanged
Seen from the end of the duct. A flange formed on the duct end, bolted at the corners
Bolts at the corners, clips along the sides
Slip and drive joints have pressure limits, so higher-pressure runs are often flanged instead. If the engineer's drawings name a joint, use that joint, even when your crew usually uses another.
Air behaves differently going into a bigger duct than into a smaller one, so the slope you're allowed depends on which way the size changes. The project's requirements set the limit.
In a widening transition, the air slows down as the duct opens up. If the sides spread too fast, the air can't follow them. It pulls away from the walls and swirls, which wastes the fan's effort. That's why most projects keep each side to a gentle 10 to 15 degrees, and why this transition needs more length. Short on length? Tell us how much room you have.
In a narrowing transition, the air speeds up as the duct closes in, and it stays tight against the walls. That's why a narrowing transition can take a steeper slope. The same projects allow 15 to 30 degrees on each side, so this transition can be shorter. Send the length you have, and we'll check the slope against your project's limits.
When a transition can't fit at the allowed slope, the engineer decides what changes. Our duct fitting fabricators flag it before cutting, while the fix is still a phone call.
A takeoff is where a branch leaves the main, and its shape decides how easily the air turns into the branch. Many projects name the style they want.
| Takeoff | What it is | Commonly used for |
|---|---|---|
| 45-degree entry, or shoe | The branch leaves the main at an angle, through a wider mouth that narrows down to the branch size | Rectangular branches leaving a rectangular main |
| Conical tap | A cone-shaped collar that joins a round branch to the main | Round branches leaving a round or spiral main, usually at 45 degrees |
| Branch elbow | A curved split that turns part of the main's air into the branch | Big branches that carry a large share of the main's air, more than about a quarter in one project |
| Tap to a grille | A short collar with a wider opening, running straight to a register or grille | A grille or register set straight into the side of the main |
45-degree entry, or shoe
Leaves the main at an angle, through a wider mouth
Conical tap
A cone-shaped collar for a round branch
Branch elbow
A curved split that turns part of the air into the branch
Engineers often put a volume damper in the branch, close to the main. Say if one belongs in the takeoff, and we'll build it in rather than leave it to be added on site.
Pressure class is how much air pressure the duct is built to hold. It's written in inches of water, from ½ in. up to 10 in. Canadian project documents often give it in pascals instead, so 2 in. shows up as 500 Pa. The higher the class, the stronger the duct has to be. Together with the duct size, it determines how thick the metal is and how it's stiffened. That makes pressure class the number to send, rather than a gauge picked by feel. The gauge tables behind it get their own guide on the duct gauge and pressure class to put on the order.
Write it on the order, along with the system the fitting belongs to. Every job here follows SMACNA duct construction standards. The gauge and stiffening then follow from the pressure class.
Ask the engineer or the mechanical contractor before ordering. A guessed gauge can come out too thin for the system, or heavier and pricier than the job needs.
Seal class sets how airtight the duct has to be. It says which joints and seams get sealant or tape, so less air leaks out before it reaches the rooms. The class comes from the project's specification, which picks it based on pressure and where the duct runs.
| Seal class | What gets sealed | Commonly used for |
|---|---|---|
| Class A | The joints between sections, the seams along each piece, and every hole cut through the duct wall | Duct built for 4 in. of pressure or more, and on some projects outdoor duct and duct hidden in shafts |
| Class B | The joints between sections and the seams along each piece | Duct built for 3 in. of pressure |
| Class C | The joints between sections only | Duct built for 2 in. of pressure or less, which covers most low-pressure supply and return |
Some Canadian project specifications seal every duct to Class A, regardless of pressure. Put the class your project names on the order.
Anything fitted inside or onto a fitting changes how it's built. Name each one, or write "none" so nobody has to wonder. Lining types and double-wall work get a closer look in the duct lining and double-wall duct to specify.
Lining sits inside the metal, so the fitting is made bigger to keep the same airway. Send the lining type and thickness, the same way you would for sound-insulated ductwork.
Say whether it's a volume damper or a fire damper, and where it sits in the fitting. The two are different parts, built to different rules.
Mark the side and the size you want. A door on the wrong side can end up facing a wall or a beam, where nobody can open it.
Say so on the order, with both the inner and the outer size. We supply it when the drawings call for it.

Each of these orders has every size right and still can't be built as written. Adding one line to the order fixes each one.
| What the order says | What's missing | What to write instead |
|---|---|---|
| "90 elbow, 24 x 12" | Curved or square, and the radius | "90-degree radius elbow, 24 W x 12 H, radius per drawings" |
| "Transition to the unit" | How each end joins | "Flanged at the unit end, slip and drive at the duct end" |
| "Galvanized, heavy gauge" | The pressure class | "Galvanized, pressure class from drawing M-3" |
| "Lined" | The lining type and thickness | "1 in. lining, airway 24 W x 12 H" |
| "Takeoff off the main" | Which style | "45-degree entry takeoff with a volume damper" |
| "Seal it" | Which seal class | "Seal Class A, per the mechanical specification" |
The sizes and the drawing number in this table are examples, not from a job.
Every order is read for gaps before anything is cut, at the point where a question is cheapest to answer. It works the same for one transition or a full set of custom duct fittings.
Standard items priced online. Standard duct and fittings can go through WebDuct, which prices them instantly for any company with an account.
Custom items checked for gaps. We check the bend, the joints, the pressure class, and the seal class against your drawings. Then we ask about anything missing.
Drawings when you need them. From a sketch or photos, we can draw the fitting for you to approve. A drawing fee applies, and it's credited back when you order.
Laid out and made. The approved fitting is laid out in our duct software, then cut, folded, and seamed in Pitt Meadows.
Checked before release. The critical dimensions are measured again on the finished fitting before it leaves.
Custom fittings are typically ready in one to two days once the deposit and approved drawings are in, depending on the size of the order. If a fitting doesn't fit and the mistake was ours, we fix or remake it at no charge.
A custom fitting earns its place when the run needs a shape nobody stocks. When a standard part fits and meets the job's requirements, buy the standard part.

Plenty of runs don't need a custom fitting at all. If a stock elbow or transition fits the space and meets the job's requirements, it's usually the quicker buy, and we'd rather tell you that than make you a part you didn't need.
Each box you tick is one question nobody has to email you about later. More decisions like these sit in HVAC Ductwork and Fittings. The checklist for the rest of the job is in What Duct Duct Goose Needs to Quote Custom Metalwork.
A fully detailed order and a sketch with three question marks are both fine places to start. We'll read what you have, ask about the gaps, and come back with a price once the fitting is defined.
Standard ductwork and fittings can be priced and ordered on WebDuct as soon as your company account is set up. Stainless, grease duct, production parts, installs, and other custom work start with a request or a call.
